These Cashew Miso Kale Chips are packed with umami flavors and make a healthy snack.
I remember the first time I tried kale chips. One of our friend’s sons was on a raw food diet and made kale chips in a dehydrator on a regular basis. They were addicting and no one could eat just one. When stores started carrying kale chips in different flavors, I tried almost every flavor. They were pretty expensive, so after a while, I stopped buying them. Instead, I made kale chips and roasted kale in my oven. I finally bought a small dehydrator (the Excalibur Economy with 5 trays) – it’s been on my wish list for a while.
Although oven baked kale chips come out crispy, they burn easily if you’re not careful, and the texture appears dryer (yes, kale chips are supposed be dry, but there’s definitely a difference in the way the chips come out when you oven bake them versus dehydrate them). The biggest difference between my oven and a dehydrator is that I can control the temperature of the dehydrator at lower temperatures than my oven. My oven only goes down to 200 degrees fahrenheit; my dehydrator ranges from 105 degrees to 165 degrees.
Dehydrating does take a lot longer since you’re baking at a much lower temperature than the oven, but it’s inactive cooking time, meaning you don’t have to do anything while it’s doing all the work.
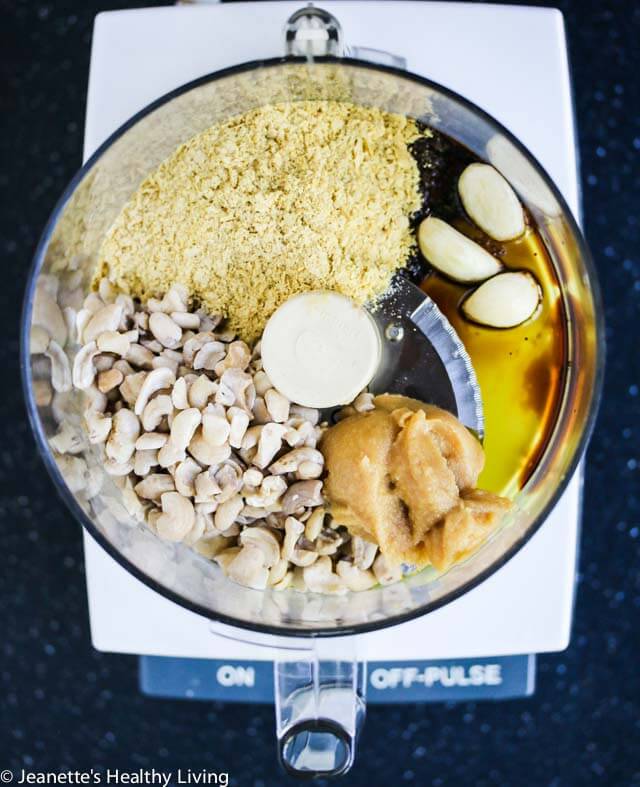
These kale chip are coated with a mixture of raw cashew nuts, light miso, nutritional yeast, garlic, soy sauce and olive oil. The miso, soy sauce and nutritional yeast add some nice umami flavor to the kale chips and the cashews add some great texture. If you’ve never tried nutritional yeast, don’t let the name turn you off. Nutritional yeast has tons of flavor and is often used as a vegan cheese substitute.
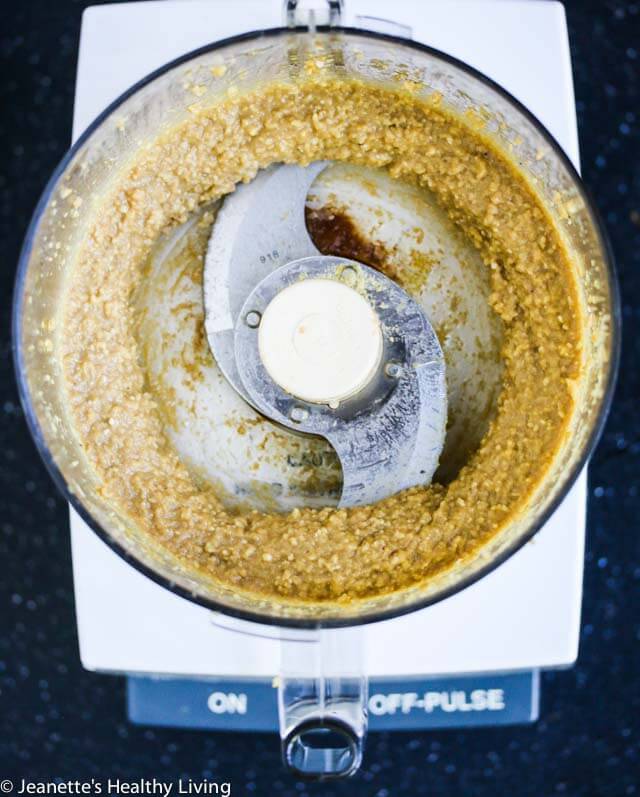
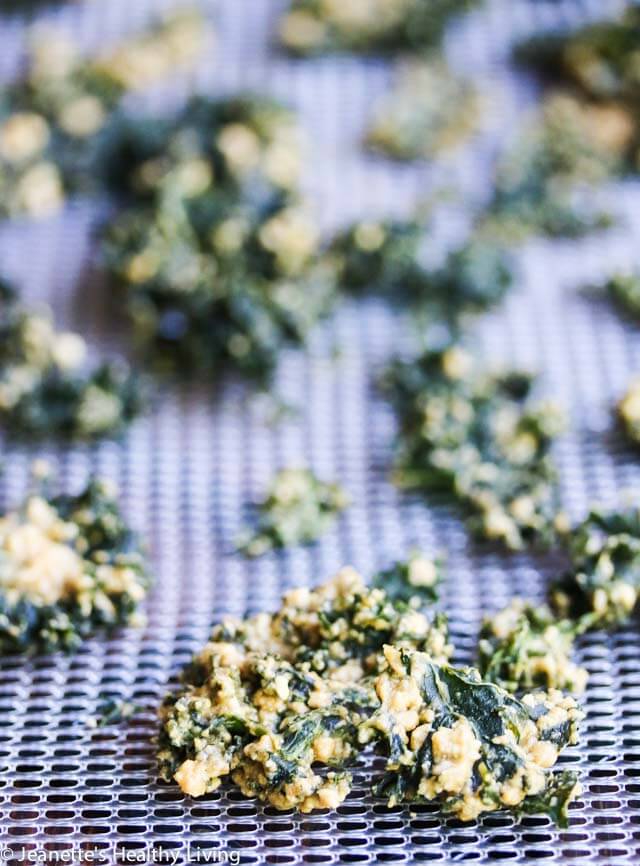
The seasoning mixture is processed until almost smooth – there will be small bits of cashew visible. This adds some texture to the kale chips after they’re baked.
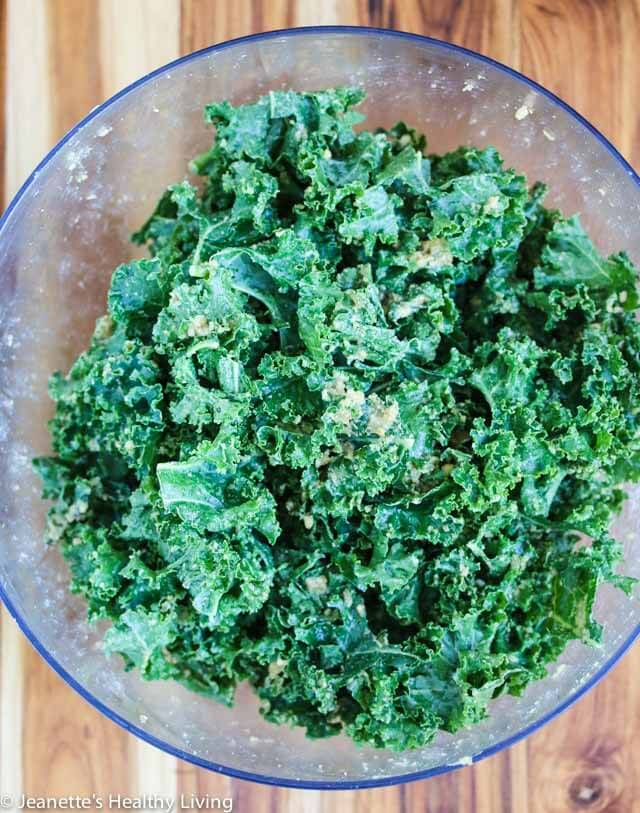
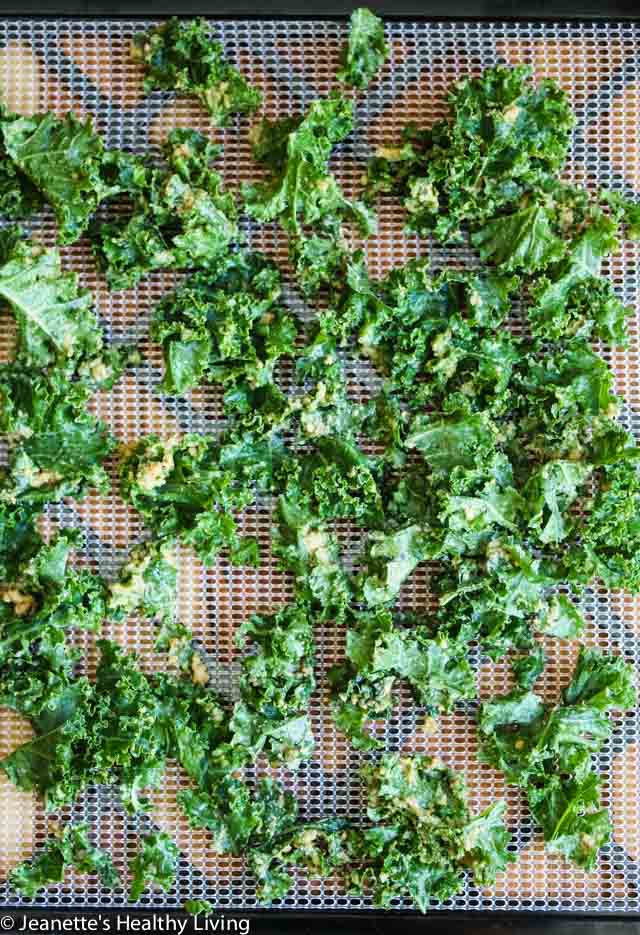
I use curly kale because it gives the coating something to grab onto and has lots of crispy crevices when it’s done. Massage the seasoning gently into the kale leaves.
Place kales leaves in a single layer on dehydrator sheets and bake at 125 degrees for about 8 hours, or until kale chips and coating are crisp.
What I love about using the dehydrator to make kale chips is that there are no burnt pieces and all the kale chips come out evenly baked.
My husband and kids aren’t big fans of kale (and my kids don’t generally like nuts) but they loved these Cashew Miso Kale Chips and commented on just how good they were.
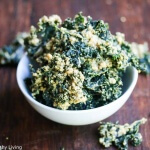
Cashew Miso Kale Chips Recipe
Ingredients
- 3/4 cup raw cashews
- 1 bunch curly kale
- 1/4 cup gluten-free light miso
- 1/3 cup nutritional yeast
- 3 cloves garlic
- 1 tablespoon gluten-free soy sauce
- 2 tablespoons extra virgin olive oil
Instructions
-
Soak cashews in water for 20 minutes; drain.
-
Meanwhile, prepare kale by pulling leaves from rib/stems and tearing into pieces. Wash and dry in a salad spinner or using cloth/paper towels.
-
Place drained cashews in food processor along with miso, nutritional yeast, garlic, soy sauce and olive oil. Process until almost smooth. There will still be small bits of cashews visible.
-
In a large bowl, gently massage cashew miso mixture into kale pieces until evenly distributed.
-
Transfer to mesh lined dehydrator trays in a single layer. Set dehydrator to 125 degrees and bake for 8 hours or until kale and coating are crisp.
Recipe Notes
Not all miso is gluten-free, so if you're on a gluten-free diet, be sure to read the ingredient label.



Can’t wait to try these! How do you recommend storing the chips so they stay crispy?
I stored these in a covered container. My family ate them all within a day so I’m not sure how long they’ll stay crispy for, but I’m guessing a few days.
Must be very delicious, esp. for kale fans like me!
Woah!!! These look amazing!! I love that you used the dehydrator for these. That has been the only way I have been able to get really crispy kale chips. Love the miso!! Will definitely try!
Kale chips tastes better than potato chips or corn chips. Thank you for sharing your recipe. People should try this and realize that eating healthy and delicious food is better.
Your list of ingredients doesn’t include the garlic though it is pictured in the food processor. You also don’t list it in the instructions. I made it without the garlic the first time. The second time I noticed the garlic and included it. Much better!
Thanks for pointing that out Kathy. I’ve fixed the recipe to include the garlic.
These are the best kale chips I’ve ever had. The recipe is perfect as is, so thank you!!
I use red kale with curly leaves. I tried using flat kale, but prefer the way the curly kale holds the paste.
I use two spoonulas to spread the paste onto the leaves — it’s a lot of work, but worth it. I used to use rubber-gloved hands, but too much paste stuck to the gloves!
I spread the coated kale on two greased sheet pans and leave in the oven at 170 (as low as mine goes) for about 8 hours. I then turn off the oven but leave the chips in to dehydrate a little longer. Sometimes I’ll use a thin metal spatula to loosen the chips halfway through dehydratng.
I’m so glad you enjoyed these kale chips – I agree, curly kale is much better for kale chips. Thanks for sharing how you bake yours.