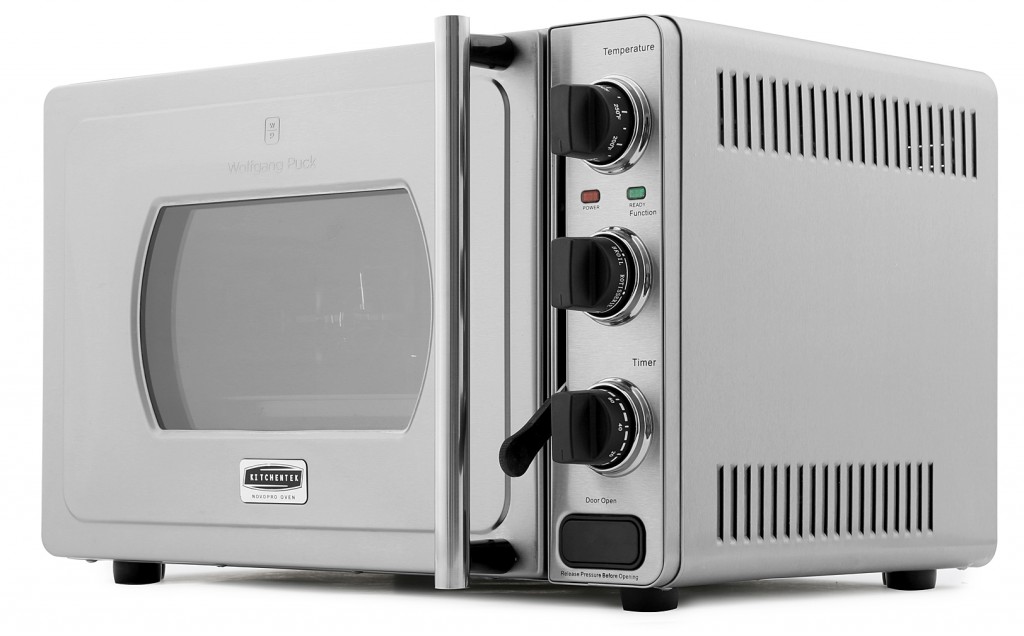
Recently, I was sent a Wolfgang Puck Pressure Oven to test out. It’s a counter top oven that has a pressure function to help speed up cooking (food cooks 25-30% faster) while retaining moisture in foods. I’ve been using it instead of my full-size oven for lots of recipes because it requires no preheating, which is one of the biggest advantages of this appliance.
Although the Pressure Oven takes up a bit of counter space (19.5″ long x 13″ wide x 12.5″ high), it is a great alternative to a full size oven when you’re preparing a meal for a family of four, or just don’t want to wait to heat up your regular oven. I know my full size oven takes at least 20 minutes to preheat, so I love the idea of just popping food into the oven without preheating.
One of the features of the Pressure Oven that I was fascinated by was the Rotisserie function. I’ve always wanted to make rotisserie chicken at home. Although it’s easy enough to buy rotisserie chicken in the supermarket these days, often, store-bought rotisserie chicken is highly seasoned (over-salted). Also, I like to use organic chicken, and organic rotisserie chicken can be hard to find and very expensive.
Costco’s carries organic whole chickens which are very reasonably priced, so I usually pick up a 2-pack when I’m there. Any leftover bones go into a pot to make chicken soup right after dinner.
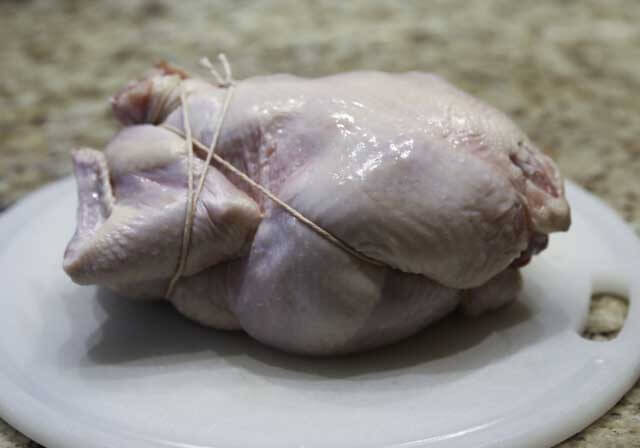
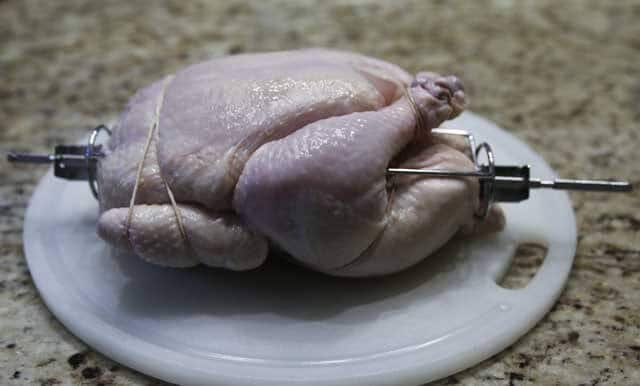
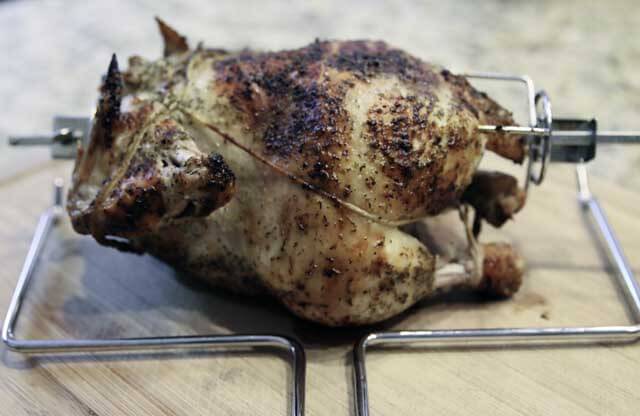
So, onto the Rotisserie Chicken. There are a few steps to making a Rotisserie Chicken. Once you’ve made it a few times, it’s really not hard. The trickiest thing for me was to truss the chicken (which keeps the chicken compact and helps it cook evenly). There are several good YouTube videos on how to Truss a Chicken. I also tied the wings to the body of the chicken to keep them from flailing around in the oven and browning faster than the rest of the chicken.
Inserting the rotisserie forks into the chicken takes a little bit of practice too. Once the chicken is trussed and the rotisserie assembly is in place, it’s a piece of cake.
1. Truss Chicken
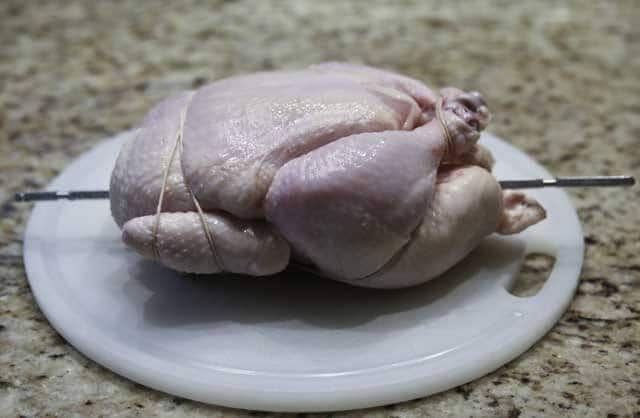
2. Insert Rotisserie Rod through Cavity of Chicken
3. Slide Rotisserie Forks onto Both Ends of Rotisserie Rod and Push into Body of Chicken; Tighten Screws
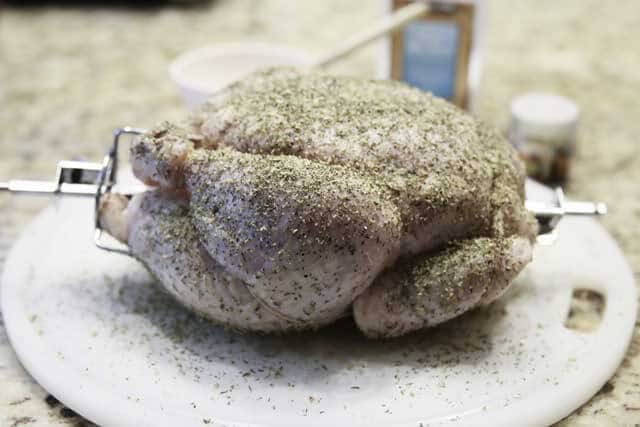
4. Brush Chicken with Olive Oil and Season As Desired (I used Penzey’s salt-free Mural of Flavor seasoning and sprinkled on some sea salt)
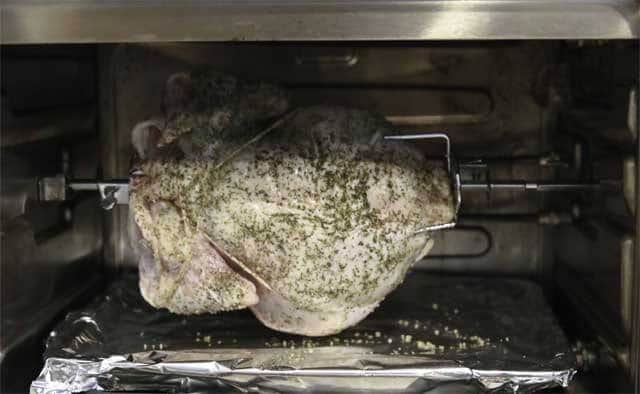
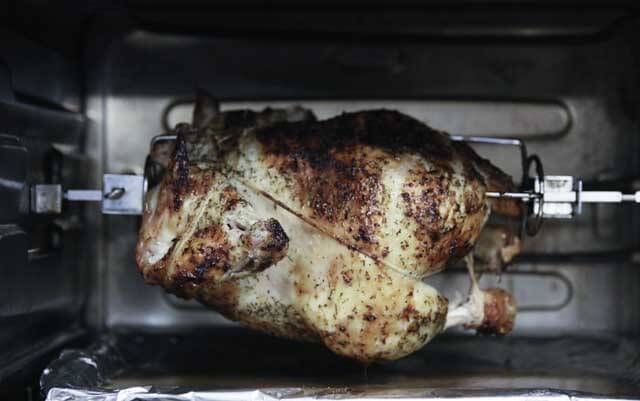
5. Place Baking Tray on Bottom of Oven (line with foil for easier cleanup), and Insert Chicken on Rotisserie Rod into Oven (I insert the rod on the right side first before sliding the left side into the notch)
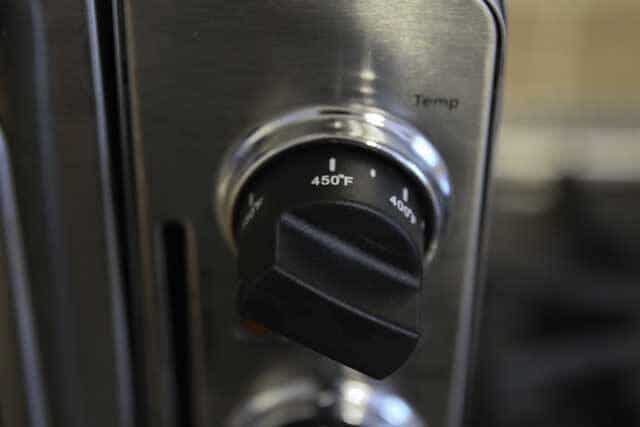
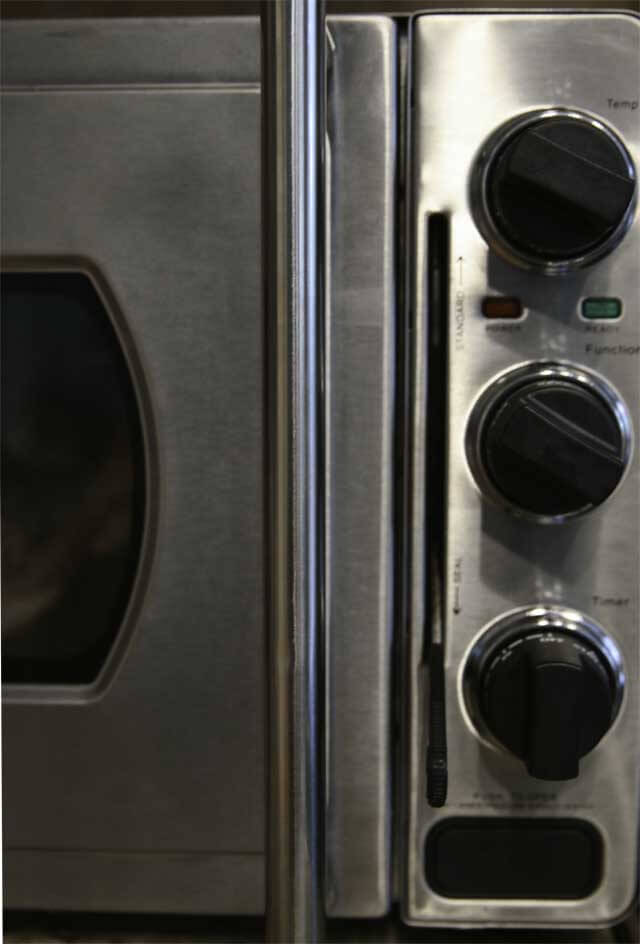
6. Set Temperature to 450 degrees fahrenheit.
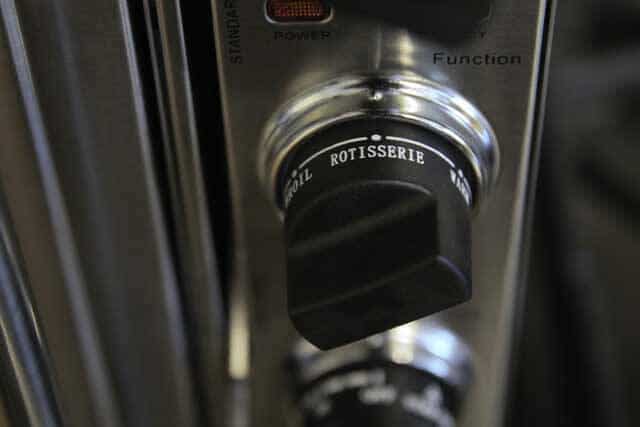
7. Select Rotisserie Dial
8. Lower Sealing Lever To Seal Pressure In Oven
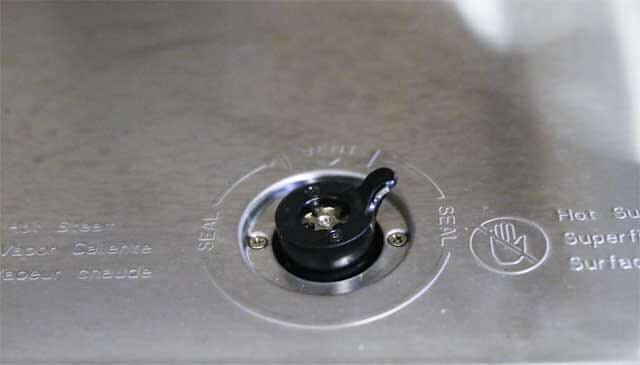
9. Rotate Vent Release Valve to Seal
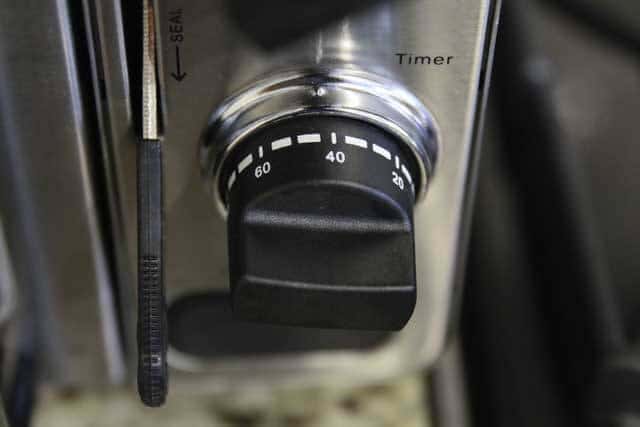
10. Set Timer to 45 minutes
11. Relax while the Chicken Roasts on its own
12. Remove Rotisserie Chicken with Rotisserie Lifter
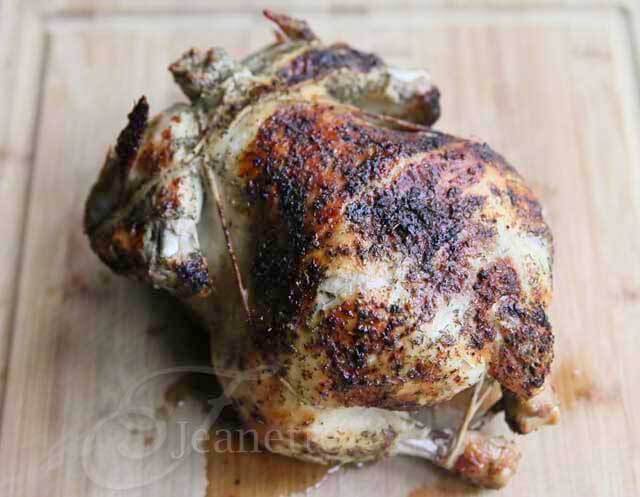
Enjoy Your Homemade Rotisserie Chicken!
All in all, I am really pleased with this Pressure Oven. I have a pretty good amount of counter space, so the convenience of roasting food without preheating the oven plus the shortened cooking time afforded by the pressure technology outweighs the amount of space the oven takes up.
To learn more, check out the Wolfgang Puck Pressure Oven website.
More Recipes I’ve successfully tried in the Pressure Oven:
Balsamic Glazed Roasted Vegetable Meatloaf
Saucy Barbecue Meatballs
Chicken for Spicy Korean Chicken Quesadillas
Roasted Brussels Sprouts
Roasted Cauliflower
Disclosure: I was sent a Wolfgang Puck Pressure Oven to test out.









Wow that’s a pretty cool gadget!
Joanne – I’ve been having fun playing with this oven. I’m kind of an appliance geek ;).
Great post, Jeanette! Love the idea of making rotisserie chicken at home!
Thanks Sommer – I really like having the ability to make my own organic rotisserie chicken – that way I can also season it the way I like.
Wow, how awesome. Although I really don’t need any more small appliances taking up room on my counter! Or maybe I just need a bigger kitchen.
I hear you Carolyn – I’m kind of a small appliance geek, so I’ve got lots of them. The only one I probably don’t have is a waffle iron.
Wow, I love the idea of making rotisserie chicken at home and yours looks so juicy and tender! Such a neat appliance, thanks for sharing Jeanette:)
Kelly – homemade rotisserie chicken is so good – really juicy!
My aunt (husband’s aunt, actually) has a rotisserie oven similar to that one but I think hers was you can put 2 chicken vertically… she asked me if I want one (and she doesn’t cook at all) but the placing the big oven was the issue so I said no. Now I sort of regret. It’s so nice to make one at home! This brand is fancier tho. 🙂 I will tell myself costco one is pretty good deal… hee hee. Your chicken looks gorgeous!
Nami – that sounds like a great idea – vertical rotisserie. My parents love Costco’s rotisserie chicken too.
On page 23 of Use and Care booklet, under helpful hints it says, “Always preheat your oven to the desired temperature before adding food.”.
Hi Mary, when I first started using this oven, I did preheat the oven for a few minutes, but found it wasn’t necessary the more I used it. Perhaps it might take a few more minutes to cook by not preheating, but I find it easier to just put what I’m making into the oven and turn it on. Let me know if you find a difference.
I haven’t had rotisserie chicken in many years, but the look of it always makes me drool.
That is one gorgeous rotisserie chicken. What a fun little oven!
Thanks Shaina – making another rotisserie chicken this afternoon. It’s so easy!
Great instructions Jeanette. Thanks!!
Have you made a turkey or ribs yet? I saw where you have to cover them with tin foil for awhile so that they don’t get too brown. Seems like a lot of trouble to me:))
I have not tried turkey or ribs. Maybe you could use a lower temperature?
I have this oven and love it….I made a 12 pound turkey which came out fantastic and also ribs that were just great. I also used the rottiserie basket to make chicken kabobs which turned out fantastic. I absolutely love this appliance. It cooks so fast and everything stays moist, juicy and delicious.
Elaine, thanks so much for sharing what you’ve been making using this oven. I find it much easier to heat up than my big oven.
I just wish there were more recipes for this oven.
Elaine, I’ve used this oven for regular oven recipes, like roasted vegetables or roasted chicken parts and it’s worked well. It’s good for a family of 4.
I don’t know what kind of truss string to buy. Will it catch on fire. ?
It’s sometimes called kitchen twine – Target sells it and you might find it in your hardware store. I’ve never had any issues with it catching on fire.
If you are worried about it catching on fire…soak the twine in water first. I have never had a fire either way.
Jeannette, can this chicken be made in a regular oven? Would the rotisserie rods be the same measurement?
If you make it in a regular oven, the rotisserie rods won’t work since it won’t spin the chicken around. But you can just roast the chicken on a pan.
So the theory is great, however we have found that we can’t get more than a 4 pound chicken to roast on the rotisserie and the nice juiciness of the chicken runs all over the bottom of your oven because the pan at the bottom is very very shallow and we’ve never been able to cook a chicken in 45 minutes it always takes an hour plus.